- Marketers Guide
- Getting Started
- Onboarding Airbridge
Add Your App to Airbridge
Add your app to Airbridge to get started. You can manage multiple apps within Airbridge using a single Airbridge account, while access permissions may vary by app. For more details, refer to this article.
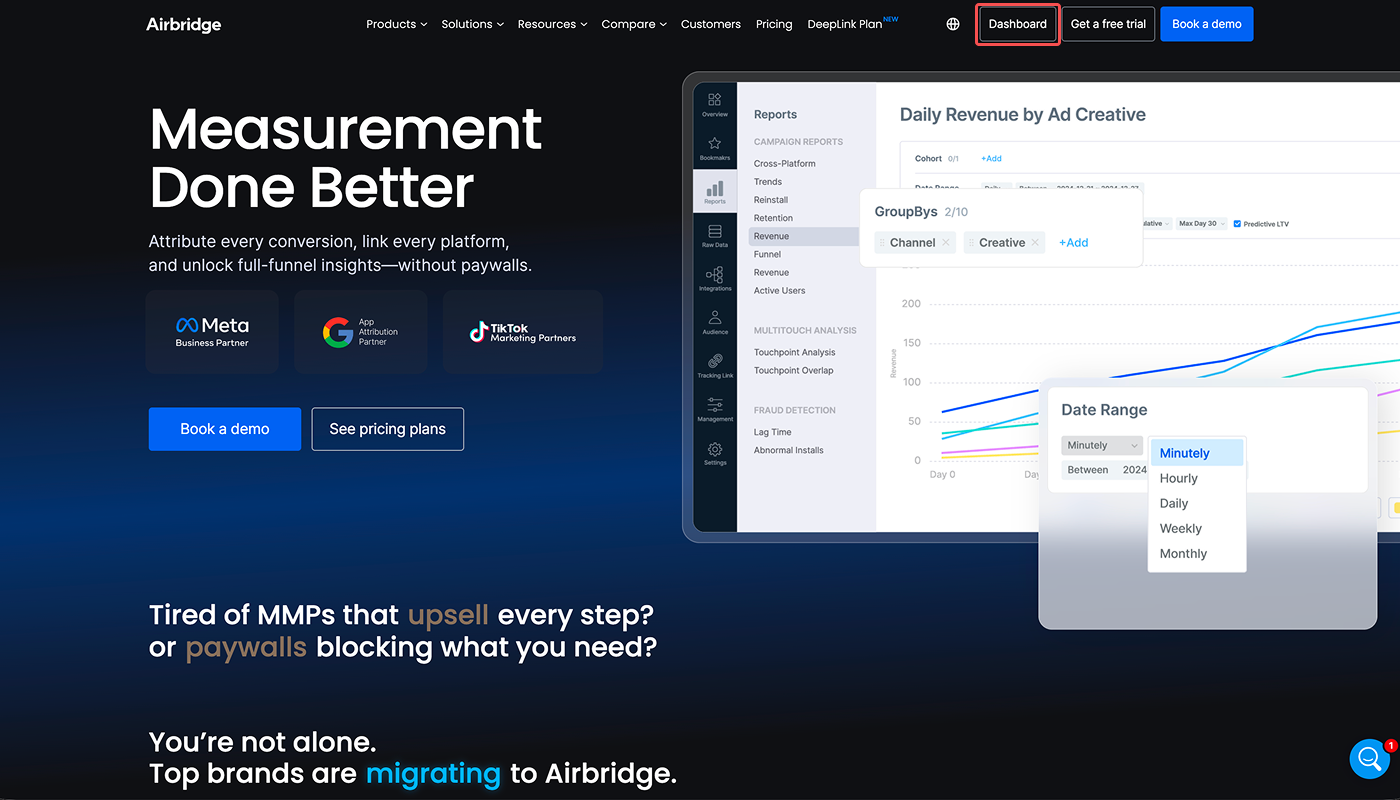
1. Click Dashboard in the upper right corner of the Airbridge homepage.
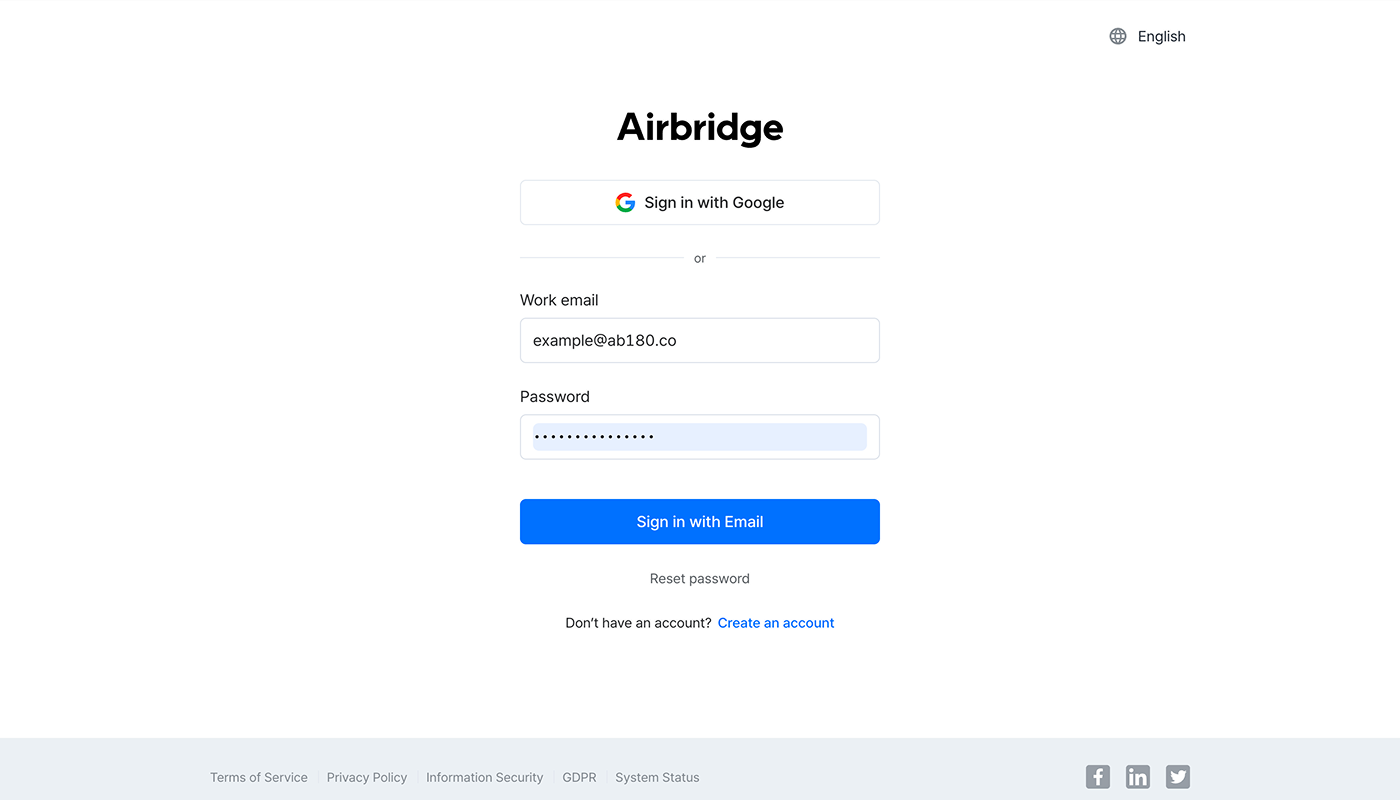
2. Enter your work email and password. If you signed up with Google SSO, click Sign in with Google. If you don't have an account yet, click Create an account to sign up.
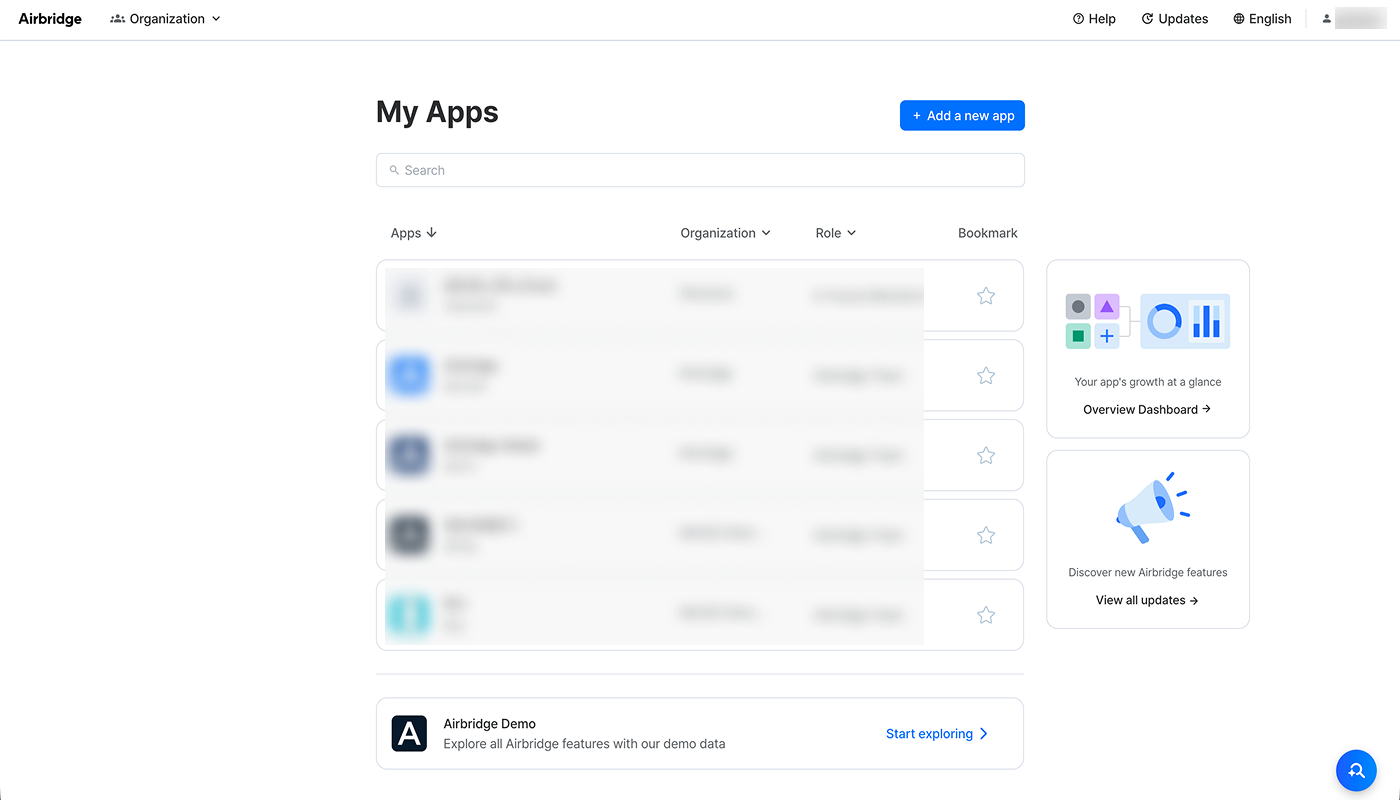
3. After signing in, a list of all your registered apps appears.
You can add your live app or soon-to-be live app in production mode or a testing app from a staging environment in development mode. Note that some configurations, such as the Airbridge App Name, time zone, and standard currency, cannot be changed later once the app is added to Airbridge.
1. Select My Apps in the top menu bar and click Add a new app. The Airbridge user who adds the app to Airbridge is automatically assigned the Owner role of the app. For more details on app roles, refer to this article.

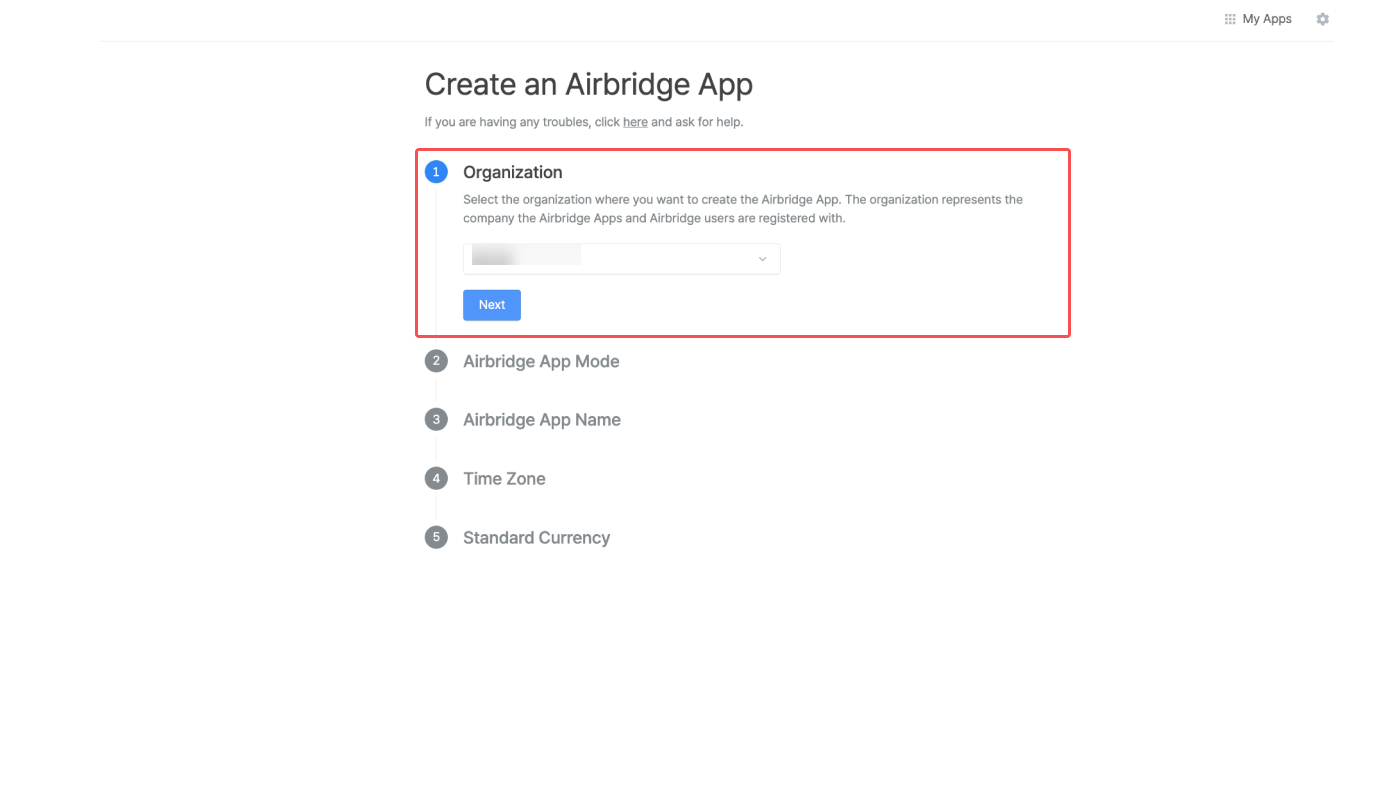
2. Enter the organization name to create a new organization. If you have an existing organization where you want to connect the app to, select it from the drop-down menu. To do so, you must be granted the Admin or Manager role of the existing organization.
Note
Airbridge offers 1 organization per plan. If your company already has an organization within Airbridge, ask the Admin to invite you to join.
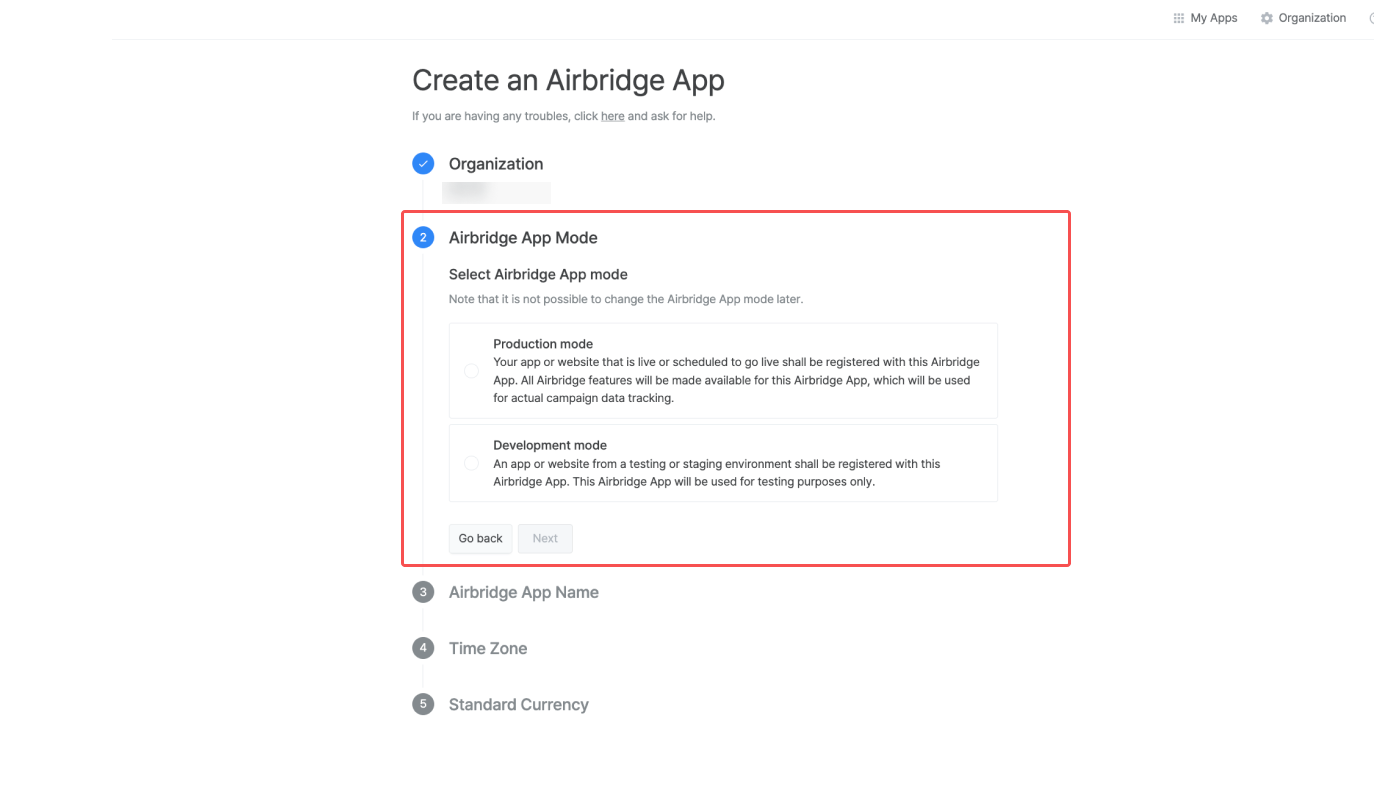
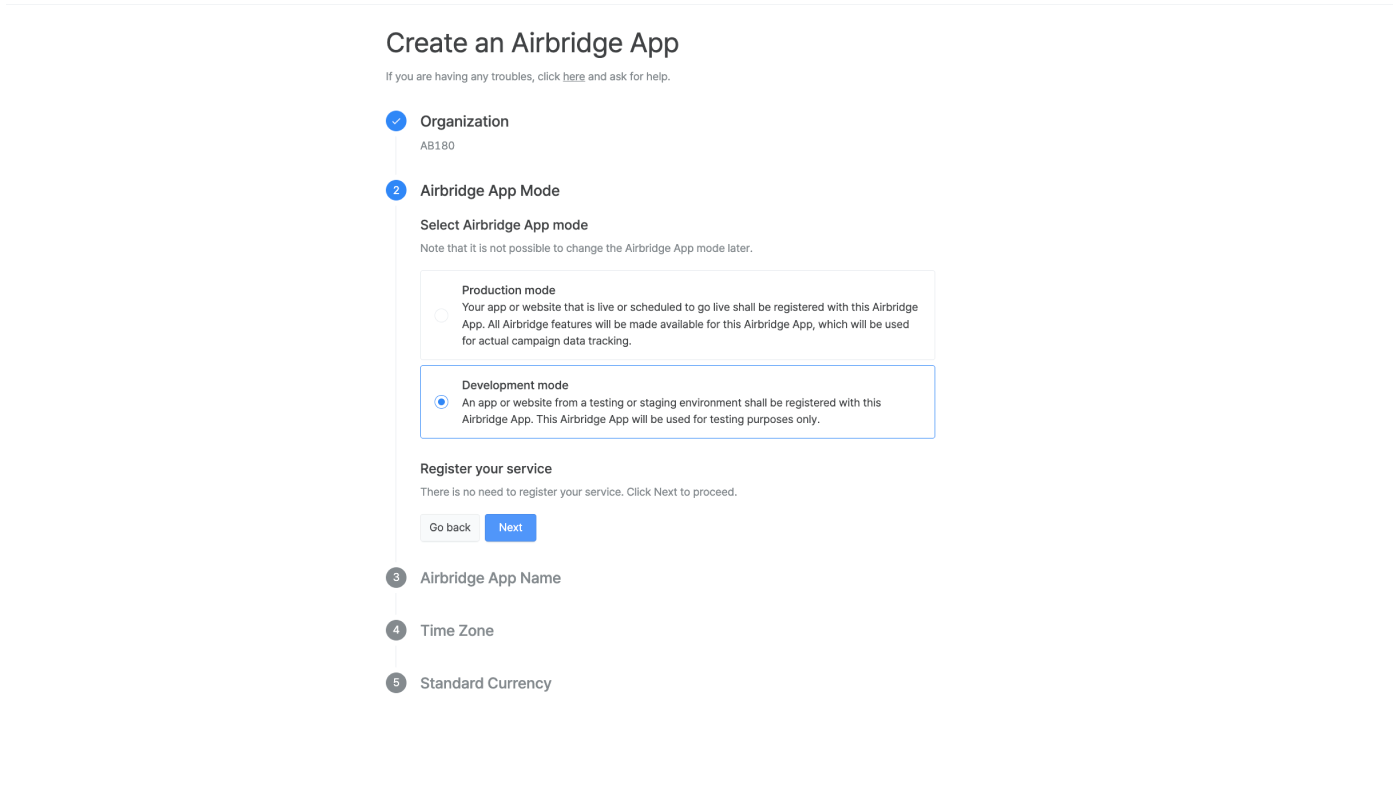
3. Select the Airbridge App mode.
Warning
Once an app is added to Airbridge, its settings cannot be changed.
Read on to learn more about the Airbridge App modes.
Your app or website that is live or scheduled to go live, select Production mode.
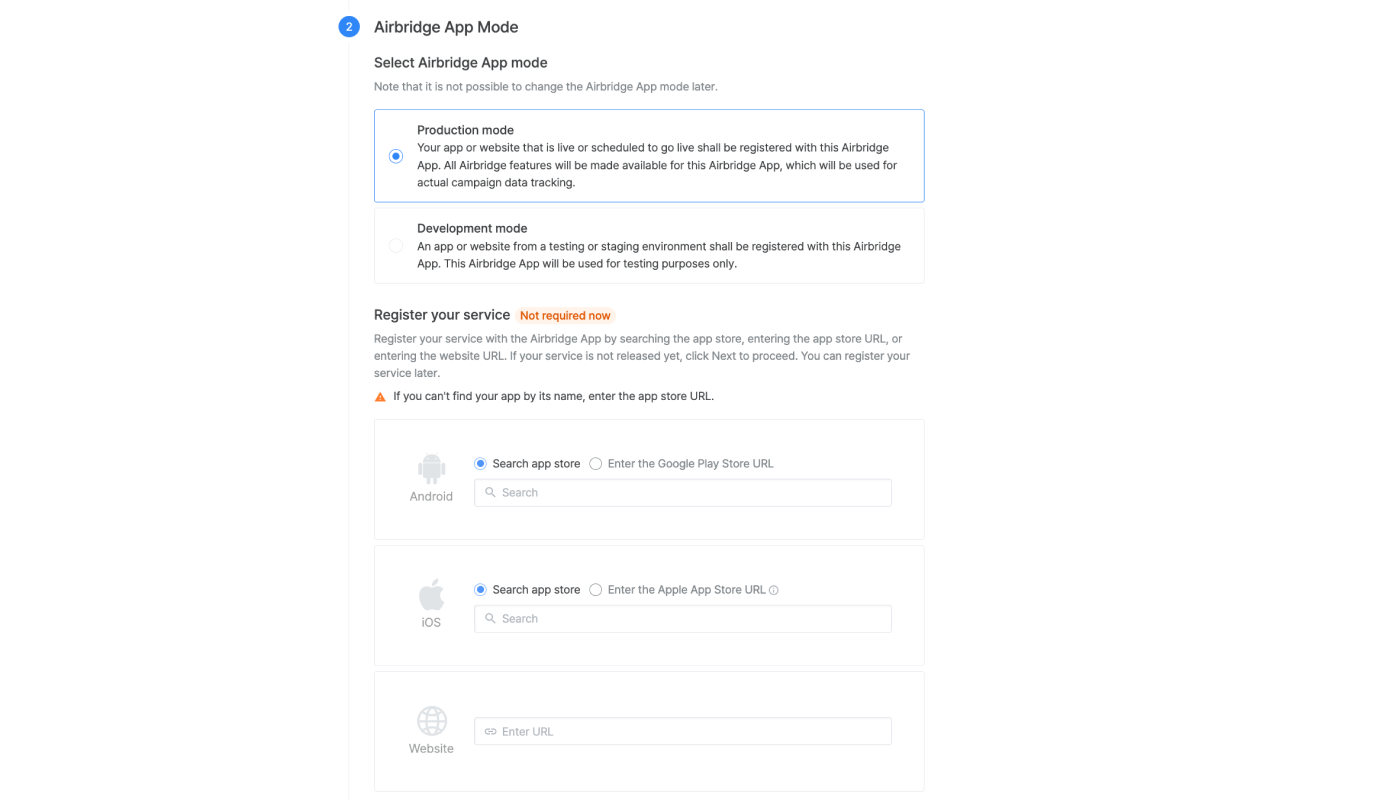
Then, search the app store or enter the app store URL to specify your app. You can also enter the live website address. If your app or website is not released yet, you can skip this section and move to the next step.
Once your app goes live or released the website, navigate to [Settings]>[App Settings] to add your app or website. For more information about app settings, refer to this article.
Attention
If the app is not found by searching the app stores with its name, you can add the app by entering the app store address. When you enter the Apple App Store address, make sure to include the country code.
App Store address example with country code:
http://apps.apple.com/us/app/bestapp/appidApp Store address example without country code:
http://apps.apple.com/app/bestapp/appid
An app or website from a testing or staging environment must be registered with this Airbridge App. Such apps and websites are not meant to go live. You can build a dev app using the Google Play Console or TestFlight. Ask your developer for help. This Airbridge App can be used to test tracking links and deep links before tracking actual campaign data.
In development mode, you don't need to register your service. You can move on to the next step.
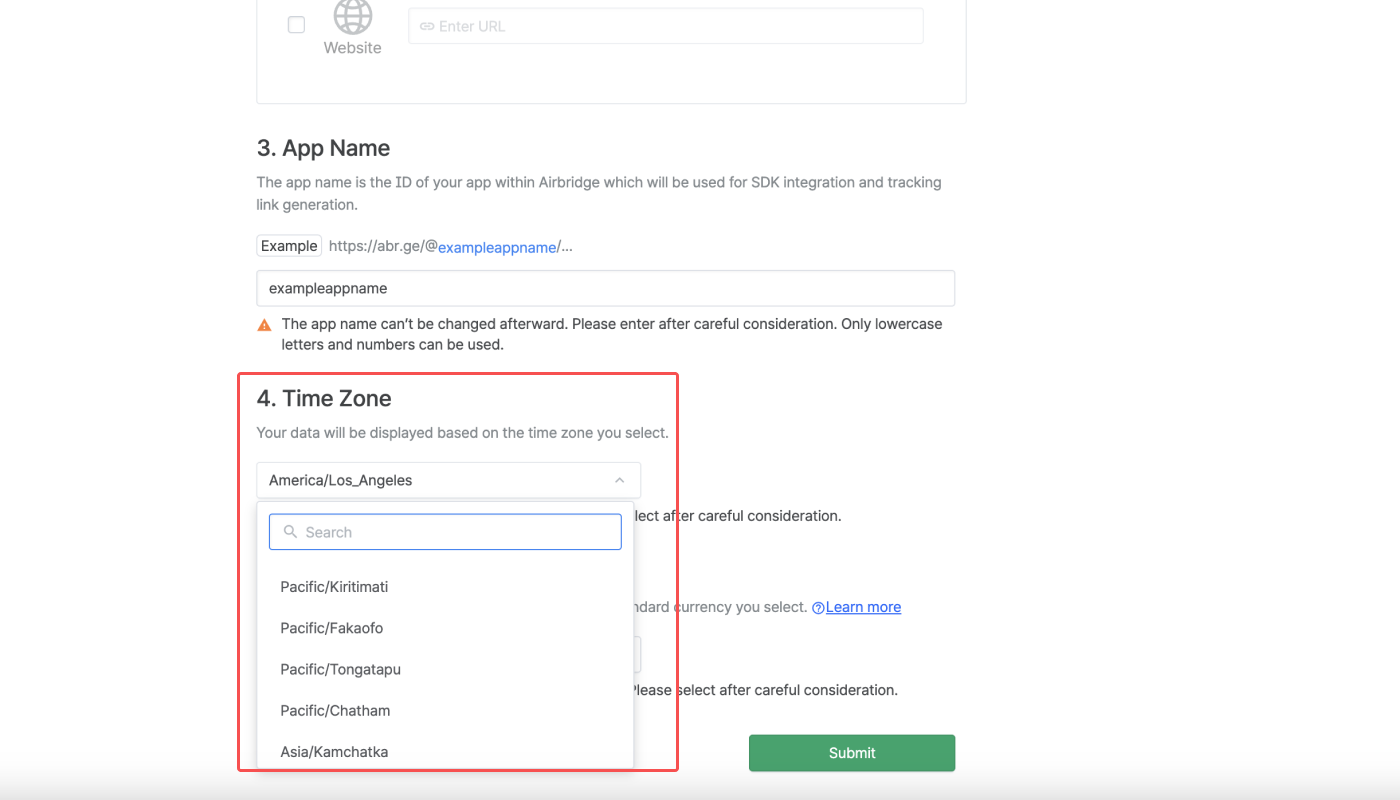
4. Enter the Airbridge App Name, which is a unique identifier within Airbridge that is used for SDK and tracking link configuration. Only lowercase letters and numbers can be used. You can’t change it once the app is added to Airbridge, so enter after careful consideration.
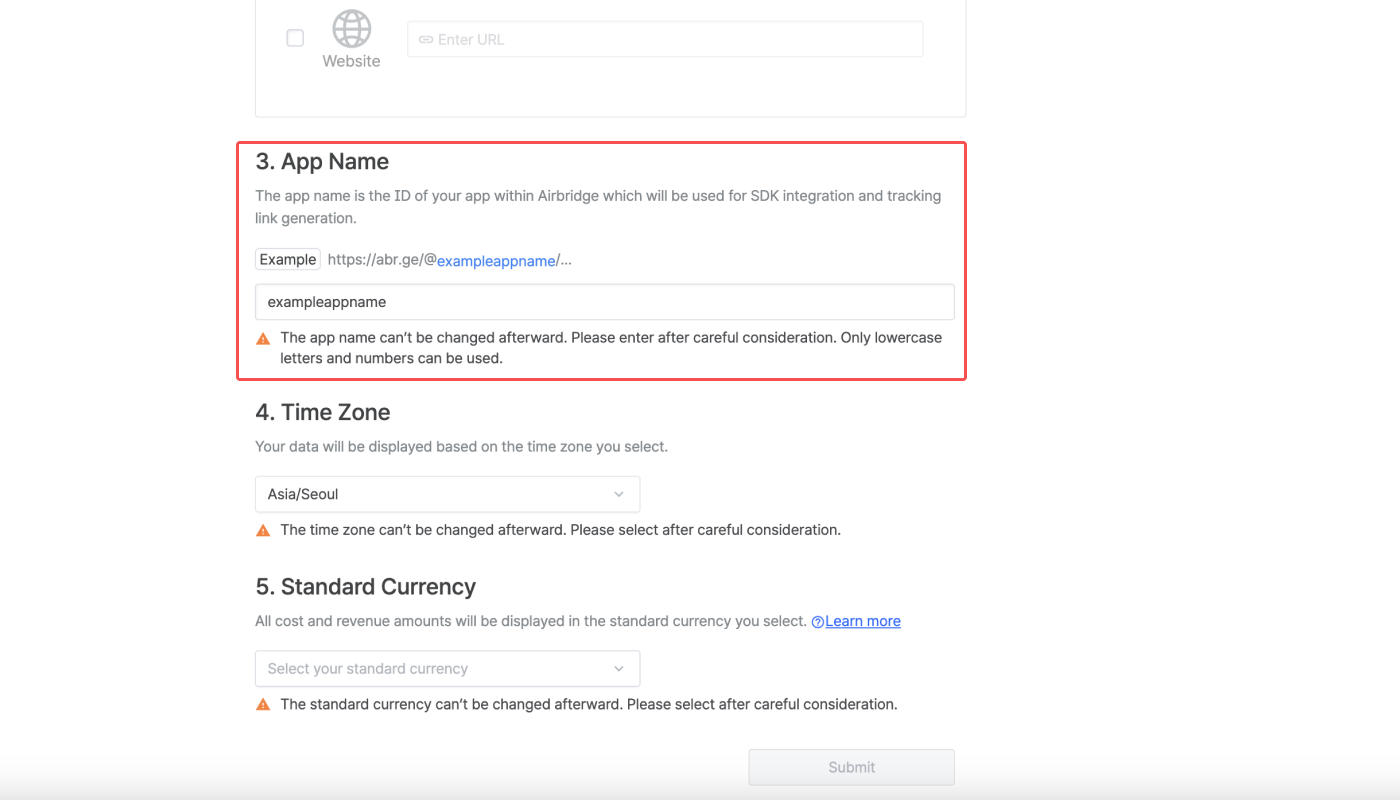
Warning
If you add a testing app in development mode for testing purposes and later the live app in production mode, the Airbridge App Names for each case must be unique.
We recommend including "test" or "dev" in the App Name to add apps in development mode.
5. Select the app time zone. You can’t change it once the app is added to Airbridge, so enter after careful consideration.
All data will be displayed based on the selected app time zone. Some reports are based on UTC +09:00. For detailed instructions on setting the app time zone, refer to this article.
6. Select the app standard currency. You can’t change it once the app is added to Airbridge, so enter after careful consideration. For more details about the app standard currency, refer to this article.
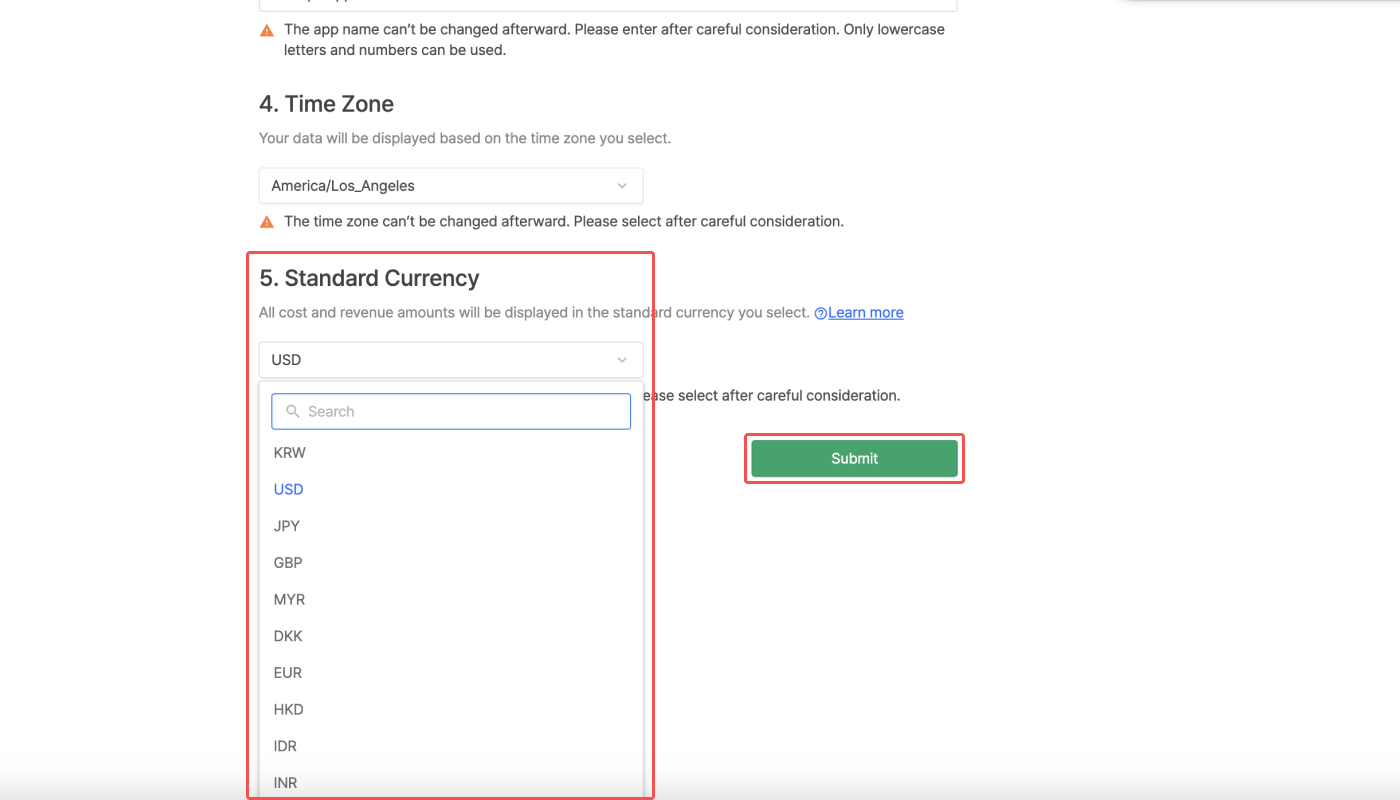
7. Click Submit to finish.