- Developers Guide
- SDK Integration (Previous)
- Android SDK (Previous)
Testing - Android SDK (Previous)
SDK testing on the Airbridge dashboard
The Airbridge dashboard offers a testing console to test whether the Airbridge SDK is working properly. Install the Airbridge SDK first before proceeding with the test. For detailed instructions on how to run the SDK tests, refer to the user guide below.
After completing the Airbridge Android SDK setup, you can test whether it works properly using real-time logs and test sites. Prepare the following information before testing the Android SDK.
Airbridge uses GAID (Google Advertising ID) as an identifier for attribution.
You can find the GAID of the test device by navigating to [Settings]>[Google Settings]>[Ads]>[My Ad ID] on the test device. The method for locating the GAID on the device may differ based on the installed Android version.
Alternatively, Airbridge offers the "My Device ID by Airbridge" app, which quickly finds a device's GAID. Scan the QR code below with the test device and download the app.

Attention
Different Airbridge App modes must be selected on the Airbridge dashboard to separate the data of the app that you want to measure ad performance from the data of the app that you want to use for testing purposes.
For development apps, you must enter the package name into the Airbridge dashboard. Refer to the Airbridge user guide for more details.
Check whether the Airbridge Android SDK is operating properly.
Follow the steps below to check whether the Install events are being collected by the Android SDK.
1. Prepare a test device where the app is not installed, or if the app is already installed, delete it before testing.
2. Set the SDK log level to VERBOSE.
val config = AirbridgeConfig.Builder("YOUR_APP_NAME", "YOUR_APP_SDK_TOKEN") .setLogLevel(Log.VERBOSE) .build()Airbridge.init(this, config)3. Install the app on the test device. After installing the app, launch it so that the Install event is collected. Note that the first Open event collected by Airbridge is recorded as an Install event.
4. Navigate to [Raw Data]>[App Real-time Log] in the Airbridge dashboard and find the event with the test device's GAID in the real-time logs. If the Install event can be found in the real-time log, you can confirm that the SDK is working as intended. It may take up to 10 minutes for the Install event to be visible in the [App Real-time Log].
5. If the Install event is not confirmed in the [App Real-time Log] even after a sufficient time, check whether the Install event is in the SDK log. When the Install event is in the SDK log, delete the app from the test device and reinstall it to repeat the test.
If the Install event is still not confirmed, contact your Airbridge CSM and share your SDK logs. If you don't have a designated Airbridge CSM, contact the Airbridge Help Center.
Airbridge initiates the attribution process when a Target Event occurs. The Install event is a typical Target Event. By checking the attribution result of the Install event, you can confirm whether the process from event collection to attribution is operating successfully.
1. Prepare a test device where the app is not installed, or if the app is already installed, delete it before testing.
2. Set the SDK log level to VERBOSE.
val config = AirbridgeConfig.Builder("YOUR_APP_NAME", "YOUR_APP_SDK_TOKEN") .setLogLevel(Log.VERBOSE) .build()Airbridge.init(this, config)3. Scan the QR code below and access the Attribution Integration Test site on your test device.
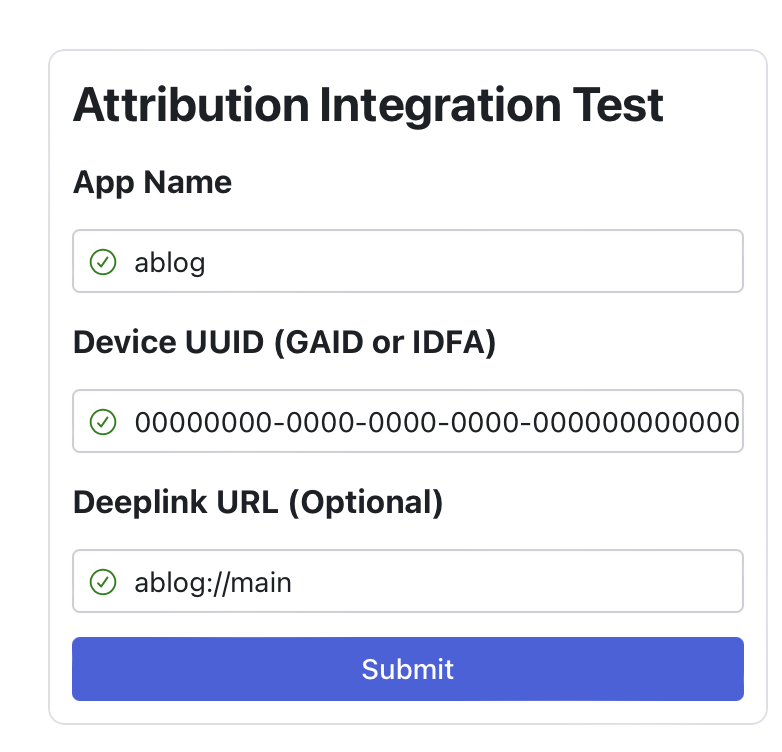
4. Enter the App Name and GAID, and click Submit. The App Name can be found on the [Settings]>[App Settings] page in the Airbridge dashboard.
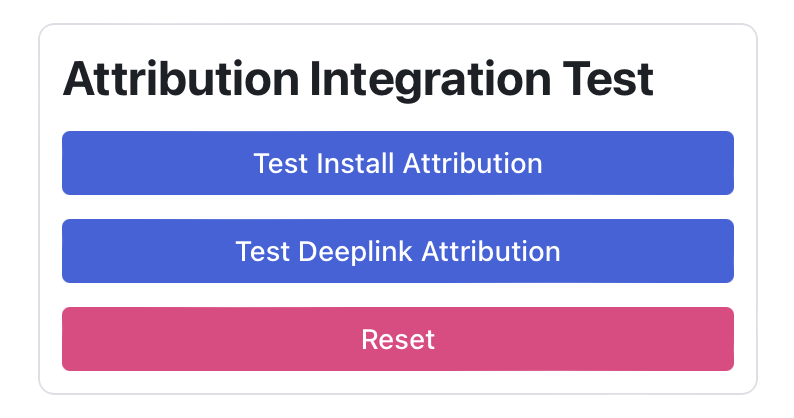
5. Click Test Install Attribution to move to the Google Play Store.
6. Install the app on the test device. After installing the app, launch it so that the Install event is collected. Note that the first Open event collected by Airbridge is recorded as an Install event.
If the Airbridge Android SDK is not installed on the app listed in the Google Play Store, use tools like Android Debug Bridge to install the app with the SDK.
7. Navigate to [Raw Data]>[App Real-time Log] in the Airbridge dashboard and find the event with the test device's GAID in the real-time logs. If the Install event can be found in the real-time log, you can confirm that the SDK is working as intended. It may take up to 10 minutes for the Install event to appear in the [App Real-time Log].
8. Check whether the Install event data is collected as follows. The data must match the details below to confirm that the attribution process has been completed successfully.
Event Category: Install
gaid: The GAID submitted to the test siteattributionResult.channel: test_sdkattributionResult.attributedTouchpointOriginURL:https://abr.ge/@${YOUR_APP_NAME}/test_sdk?campaign=test_sdk_campaign&device_uuid=${YOUR_GAID}
9. If the Install event is not confirmed in the [App Real-time Log] even after sufficient time, delete the app from the test device and reinstall it to repeat the test.
If the Install event is still not confirmed, contact your Airbridge CSM and share your SDK logs. If you don't have a designated Airbridge CSM, contact the Airbridge Help Center.
Check whether the SDK collects the event and user data as intended.
Follow the steps below to check whether the event data is collected by the Airbridge Android SDK according to your Airbridge event taxonomy.
Navigate to [Raw Data]>[App Real-time Log] in the Airbridge dashboard and check whether the event data is being collected as defined in your Airbridge event taxonomy.
Category: Check data at
eventData.goal.category.Action: Check data at
eventData.goal.action.Label: Check data at
eventData.goal.label.Value: Check data at
eventData.goal.value. Make sure to check whether the value data of purchase-related events are being collected properly.Semantic Attributes: Check data at
eventData.goal.semanticAttributes.Custom Attributes: Check data at
eventData.goal.customAttributes.
If you don't complete the hybrid app setup, events that occur in the app's WebView are recorded as web events, and the attribution results are not measured correctly. Proceed with the hybrid app setup before checking whether events that occurred from WebView are being collected properly.
Check the SDK logs and confirm whether events are sent to the Airbridge server as intended. Refer to the following table for troubleshooting based on the SDK log.
Below is an example of the eventData.goal payload.
{ ... "eventData": { ... "goal": { "category": "airbridge.ecommerce.order.completed", "semanticAttributes": { "value": 10000.0, "totalQuantity": 1000, "currency": "krw", "transactionID": "transaction_1", "products": [ { "quantity": 10, "productID": "coca_1", "price": 1.99, "name": "Coca cola", "currency": "usd", "position": 1 }, { "quantity": 5, "productID": "fanta_1", "price": 2.5, "name": "Fanta Orange", "currency": "usd", "position": 2 }, { "quantity": 1, "productID": "terra_pack_1", "price": 10.99, "name": "Terra 12 Pack", "currency": "usd", "position": 3 } ], "inAppPurchased": true } } }, ...}Attention
If you haven't set up user data collection in the Airbridge Android SDK, the testing process described below is not necessary.
Collecting user data, such as user IDs and emails, through the Airbridge iOS SDK can help you further leverage Airbridge event data through third-party integrations. Follow the steps below to check whether the user data is collected by the Airbridge Android SDK according to your Airbridge event taxonomy.
Navigate to [Raw Data]>[App Real-time Log] to check whether the events are collected as intended.
User data: Check data at
user. The collected user data should be included in theuser.
A log printed like the following confirms that the user data is sent to the Airbridge server as intended.
Client request: method={method} url={url} header={header} body={pretty printed json body}
A log printed like the following confirms that the user data has been modified after collection.
User data is modified: user={user json}
Below is an example of a payload of the collected user data.
{ ... "eventData": { ... }, "user": { "externalUserID": {User ID}, "externalUserPhone": {User Phone}, "alias": { "key": {value} }, "attributes": { "key": {value} }, "isClientSideHashed": true }, ...}Check whether the Airbridge Android SDK performs deep linking as intended.
Before testing deep linking, complete the setup listed below.
Airbridge provides a website for testing deep linking. If you want to test deferred deep linking, you need to uninstall the app from your test device.
1. Scan the QR code below and access the test site on your test device.
2. Enter the App Name registered with Airbridge. You can find it on the [Settings]>[App Settings] page in the Airbridge dashboard. The App Name is case-sensitive.
If you want to test a specific deep link address, enter the scheme deep link into the Deeplink URL field. The scheme deep link should be entered in the format of {YOUR_SCHEME}://....
If you're using a custom domain, make sure to enter your custom domain.
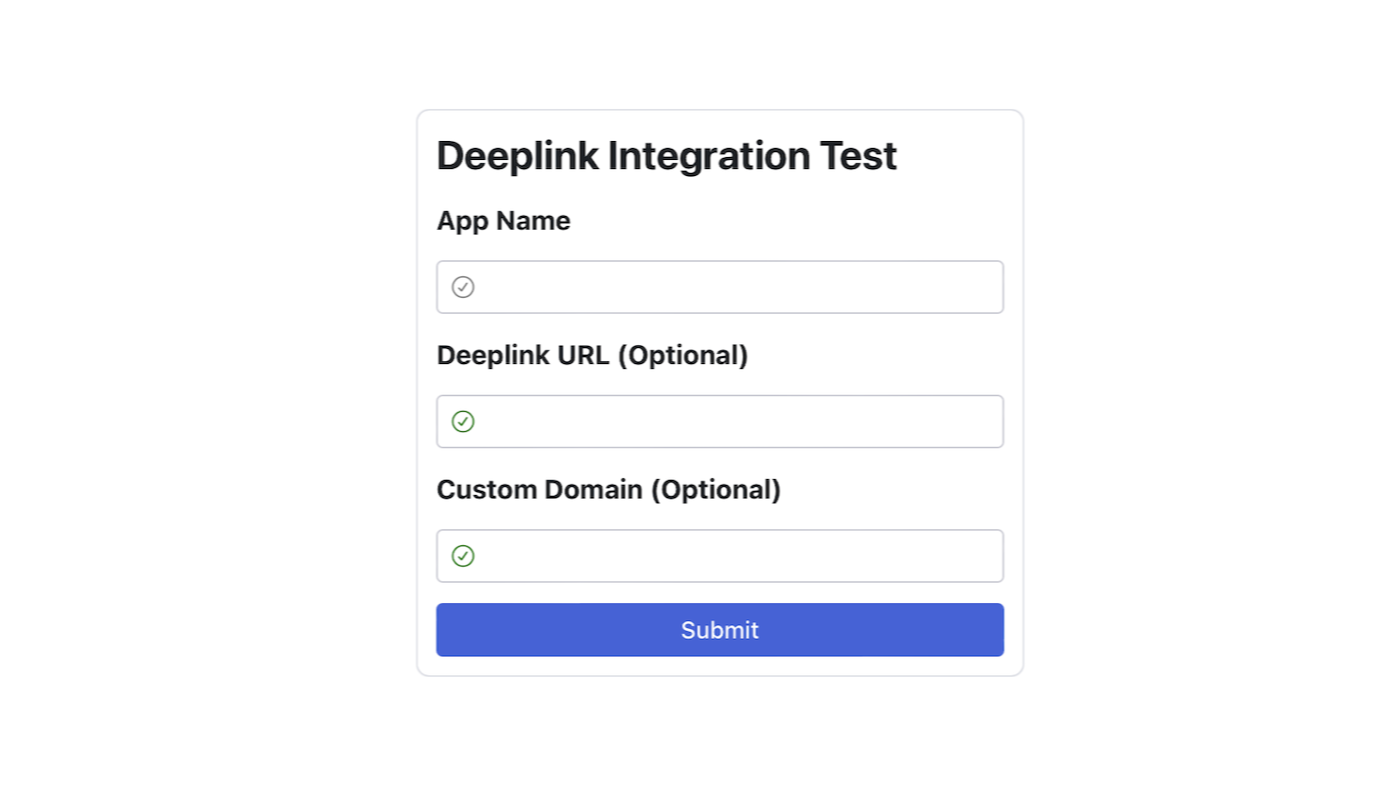
3. Click one of the buttons listed below. Click the button depending on the deep link type you are testing. Note that you can only test deferred deep linking if the app is not installed on your test device.
4. When the Deeplink Open event is successfully collected, you can find it on the [Raw Data]>[App Real-time Log] page in the Airbridge dashboard.
Once you confirm the Deeplink Open event on the [App Real-time Log] page, confirm the information listed below by the buttons you click. If the deep link is functioning as intended, all items should be confirmed.
After clicking Test HTTP Deeplink Type-1, you need to confirm the following items in the SDK log.
eventData.deeplinkishttps://{YOUR_APP_NAME}.abr.ge...{YOUR_SCHEME}://main...is passed to the deep link callback function.If you have entered a deeplink URL in the deeplink test site, the information passed will be changed. For example, if you have entered
{YOUR_SCHEME}://path...as the deeplink URL,${YOUR_SCHEME}://path...is passed.
After clicking Test HTTP Deeplink Type-2, you need to confirm the following items in the SDK log.
eventData.deeplinkishttps://{YOUR_APP_NAME}.airbridge.io...{YOUR_SCHEME}://main...is passed to the deep link callback function.If you have entered a deeplink URL in the deeplink test site, the information passed will be changed. For example, if you have entered
{YOUR_SCHEME}://path...as the deeplink URL,${YOUR_SCHEME}://path...is passed.
After clicking Test Scheme Deeplink, you need to confirm the following items in the SDK log.
eventData.deeplinkis{YOUR_SCHEME}://main...{YOUR_SCHEME}://main...is passed to the deeplink callback function.If you have entered a deeplink URL in the deeplink test site, the information passed will be changed. For example, if you have entered
{YOUR_SCHEME}://path...as the deeplink URL,${YOUR_SCHEME}://path...is passed.
After clicking Test Deferred Deeplink, you need to confirm the following items in the SDK log.
eventData.deeplinkis${YOUR_SCHEME}://main...{YOUR_SCHEME}://main...is passed to the deeplink callback function.If you have entered a deeplink URL in the deeplink test site, the information passed will be changed. For example, if you have entered
{YOUR_SCHEME}://path...as the deeplink URL,${YOUR_SCHEME}://path...is passed.
After clicking Test Custom Domain Deeplink, you need to confirm the following items in the SDK log.
eventData.deeplinkishttps://{YOUR_CUSTOM_DOMAIN}...{YOUR_SCHEME}://main...is passed to the deeplink callback function.If you have entered a deeplink URL in the deeplink test site, the information passed will be changed. For example, if you have entered
{YOUR_SCHEME}://path...as the deeplink URL,${YOUR_SCHEME}://path...is passed.
Refer to the information below for troubleshooting.