Azure Blob Storage
Airbridge supports integration with Azure Blob Storage. With the integration, the raw data collected by the Airbridge SDK and tracking links are passed from Airbridge to Azure Blob Storage on a daily basis, allowing you to process data in various ways to suit your needs.
To enable integration with Azure Blob Storage, get the following credentials from your Azure Blob Storage dashboard and register them with Airbridge.
Storage account name
Storage account access key
Container name
Sign in to your Azure Blob Storage dashboard and get the name of the storage account to connect with Airbridge.
If you don’t have a storage account, follow the steps below to create a new storage account. The name used to create the storage account will also be used in Airbridge.
1. Sign in to the Azure Portal and navigate to the [Storage accounts] page. Click Create and configure as necessary.
2. Select the [Review + create] tab to run validation on your storage account settings. The validation may take up to 30 seconds.
If validation passes, click Create to proceed to create the storage account. If validation fails, modify the settings as indicated by the portal.
Follow the steps below to get the storage account access key. The Azure account must have been assigned a specific role to be able to view the access key. For more details about Azure roles, refer to this article.
1. Navigate to the [Storage accounts] page. Click the storage account to connect with Airbridge.
2. Under the [Security + networking] section, select [Access keys]. Only the Key value under key1 is necessary for the integration. The second key or the connection string is not necessary.
3. Click Show to view the access key and activate the [copy] icon. Click the [copy] icon to copy the Key value.
Follow the steps below to create a new container. The name used to create the container will also be used in Airbridge.
1. Navigate to the [Storage accounts] page. Click the storage account to connect with Airbridge.
2. Under the [Data storage] section, select [Containers]. Click + Container.
3. Enter a name for the new container. For more information about container names, refer to this article. Click Create to create the container.
To enable integration with Azure Blob Storage, get the following credentials from your Azure Blob Storage dashboard and register them with Airbridge.
Storage account name
Storage account access key
Container name
Once you have got the credentials, follow the steps below to register them.
1. Navigate to [Integrations]>[Third-party Integration] in your Airbridge dashboard. Select “Azure Blob Storage.”
2. Enter your storage account name, access key, and container name.
3. Under File Format, select either CSV or Parquet. Click Done to save.
If your cloud storage credentials have changed, you must update them in Airbridge. Navigate to the cloud storage integration page in the Airbridge dashboard and click the [pencil] icon at the end of each field box to modify the value. Click Done to save.
If you want to disable integration with the cloud storage, navigate to the cloud storage integration page in the Airbridge dashboard. Click Delete to remove the credentials and suspend the connection. If you want to reconnect with the cloud storage, register the credentials again.
Data already pushed from Airbridge to the cloud storage isn’t affected.
If the integration status shows “Error” on the [Integrations]>[Third-party Integration] page, you must submit the credentials again.
The error message is also shown in the [Integrations]>[Integration Overview] page. Click on the notification to move to the cloud storage integration page and resolve the error.
Once the integration setup is complete, you can view the integration status by data source on the cloud storage integration page.
Refer to the below for details about integration status and data export schedule.
Status | Description |
|---|---|
Waiting | The credentials have been submitted, but no data has been pushed yet. |
Success | The daily data has been successfully pushed to the cloud storage. |
Error | The data hasn’t been pushed due to an error with the credentials or others. |
No Data | The integration is enabled, but there is no data to push to the cloud storage. |
The status will show “Waiting” right after the credentials are submitted and will change to “Success” when data is pushed for the first time.
Data is pushed to the cloud storage daily at 7:00 PM (UTC), regardless of your app time zone setup.
Airbridge supports free integration with a single cloud storage. Additional charges apply for integrating with two or more cloud storages.
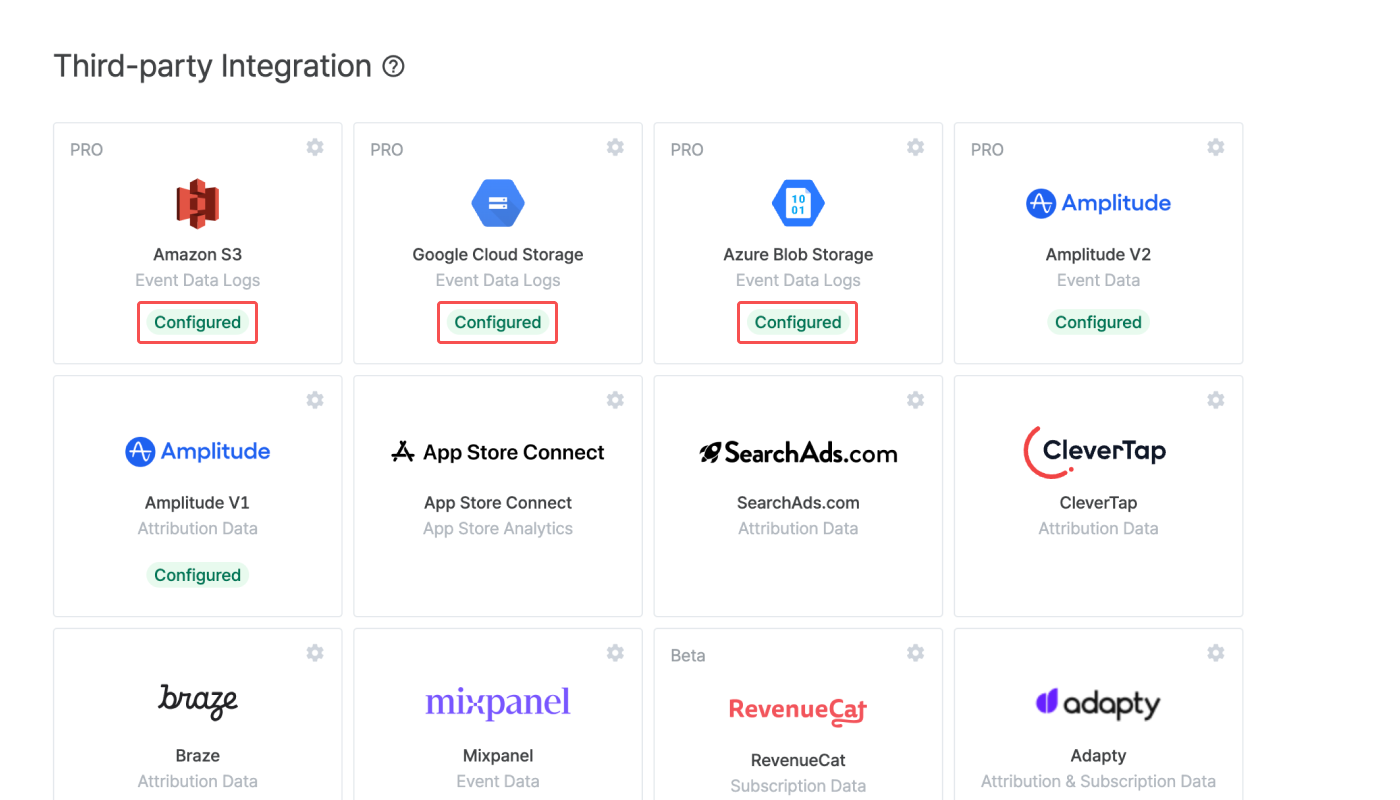
The cloud storage integration status is shown under the name of each cloud storage on the [Integrations]>[Third-party Integration] page.

Refer to the table below for details about cloud storage integration status. You can also view the integration status specific to each data source.
Status | Description |
|---|---|
(No status shown) | The credentials have not been submitted, or the integration status is unknown. |
Configured | The credentials have been submitted, and the data is being successfully pushed to the cloud storage. |
Error | The data hasn’t been pushed due to an error. |
Closed | The cloud storage is not in use. To connect, reach out to your Airbridge CSM. |
Was this helpful?