Model Configuration
Demo data
The MMM Studio offers a readily available set of demo data that can be used for a quick marketing mix modeling experience. Navigate to [Model Configuration], click Create a new model, and select Data Hub (demo) as data hub.
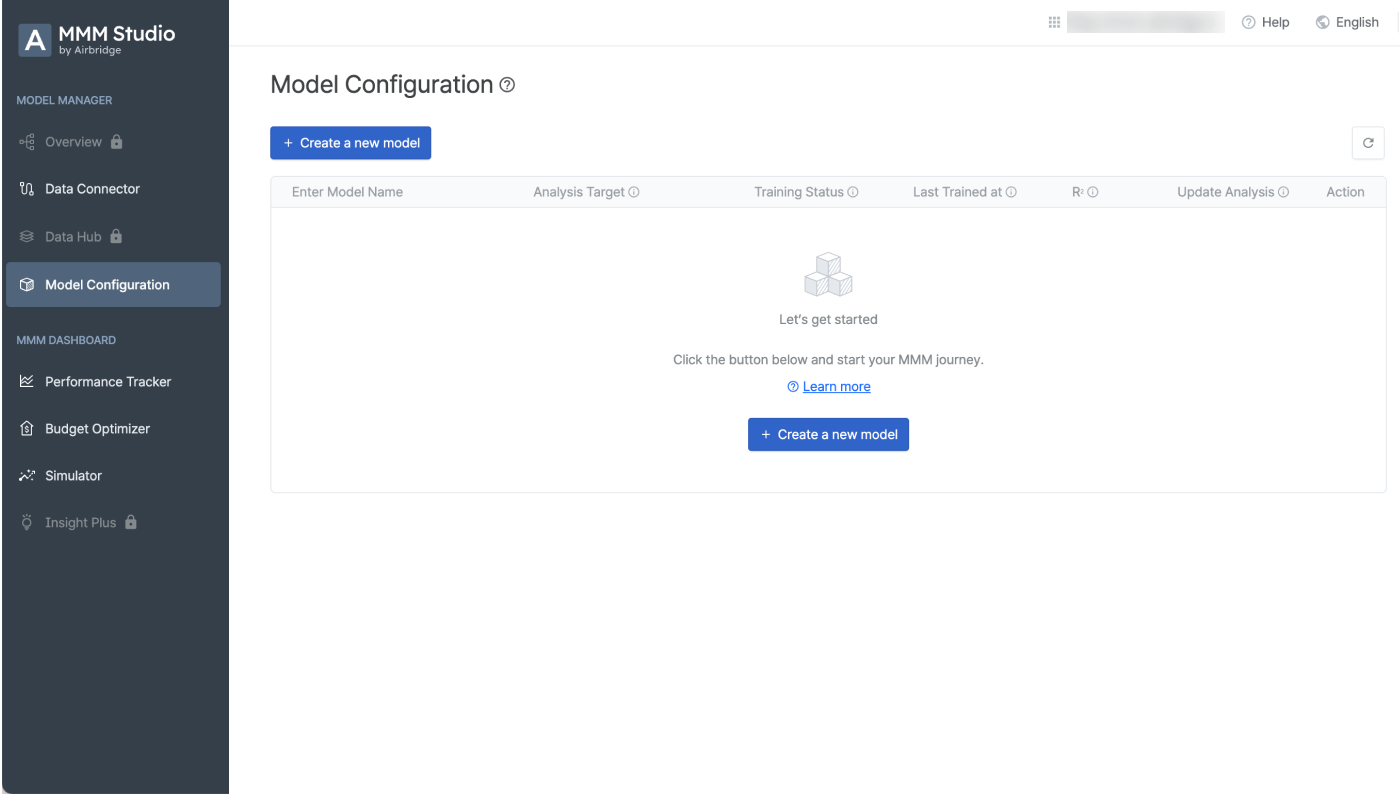
Create, train, and manage your marketing mix models on the [Model Configuration] page. From the models that completed training, you can select a model to create a report view on the [Performance Tracker] and the [Budget Optimizer] page.
Have you prepared your data?
The first step of marketing mix modeling is data preparation. Make sure you prepare your data in the required file format and store it in the data hub on the [Data Connector] page. For more details, refer to this article.
If you don’t have the data at hand and want to try out the modeling, click Create a new model and select Data Hub (demo) as the data hub to use the demo data for modeling.
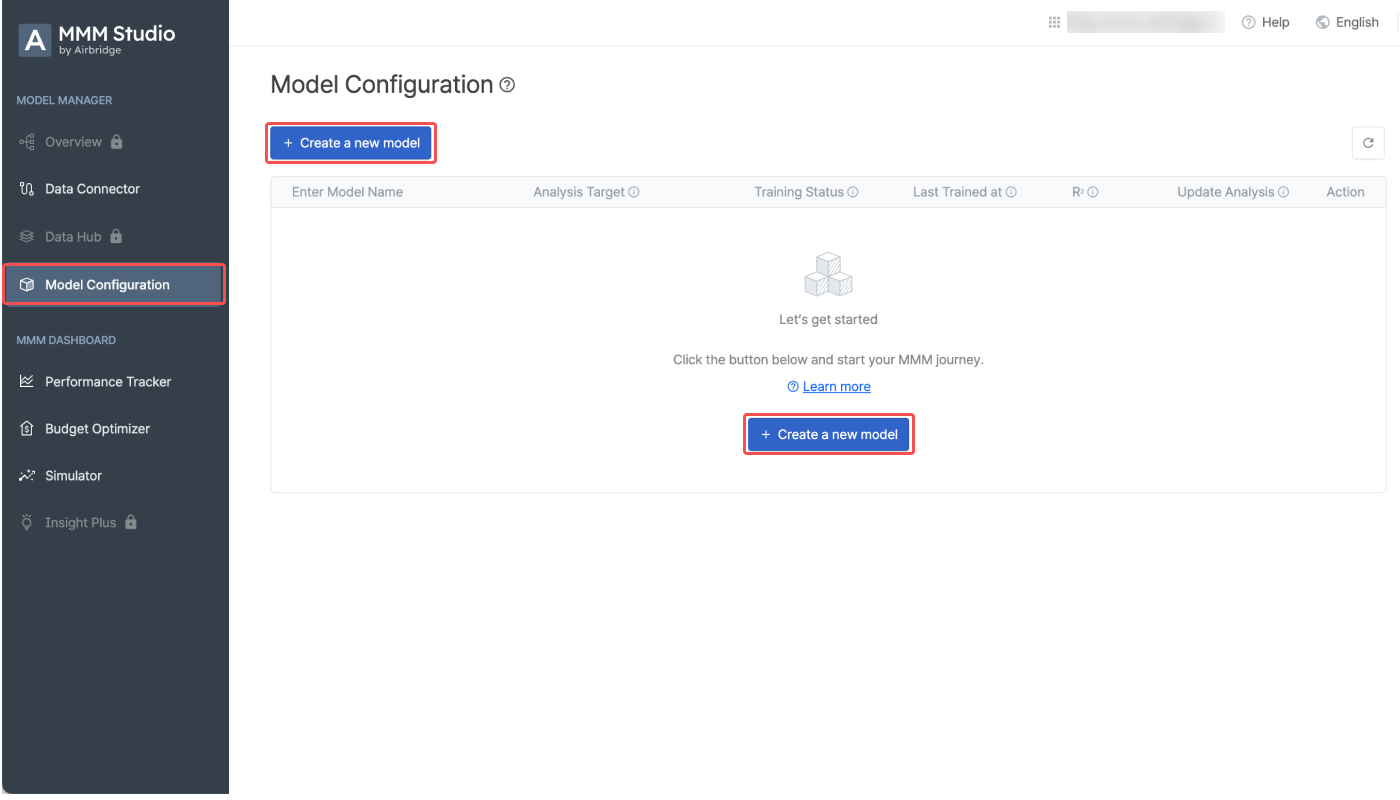
1. Select [Model Configuration] from the left menu bar and click Create a new model.
2. Select the data hub from which you want to use the data for marketing mix modeling.
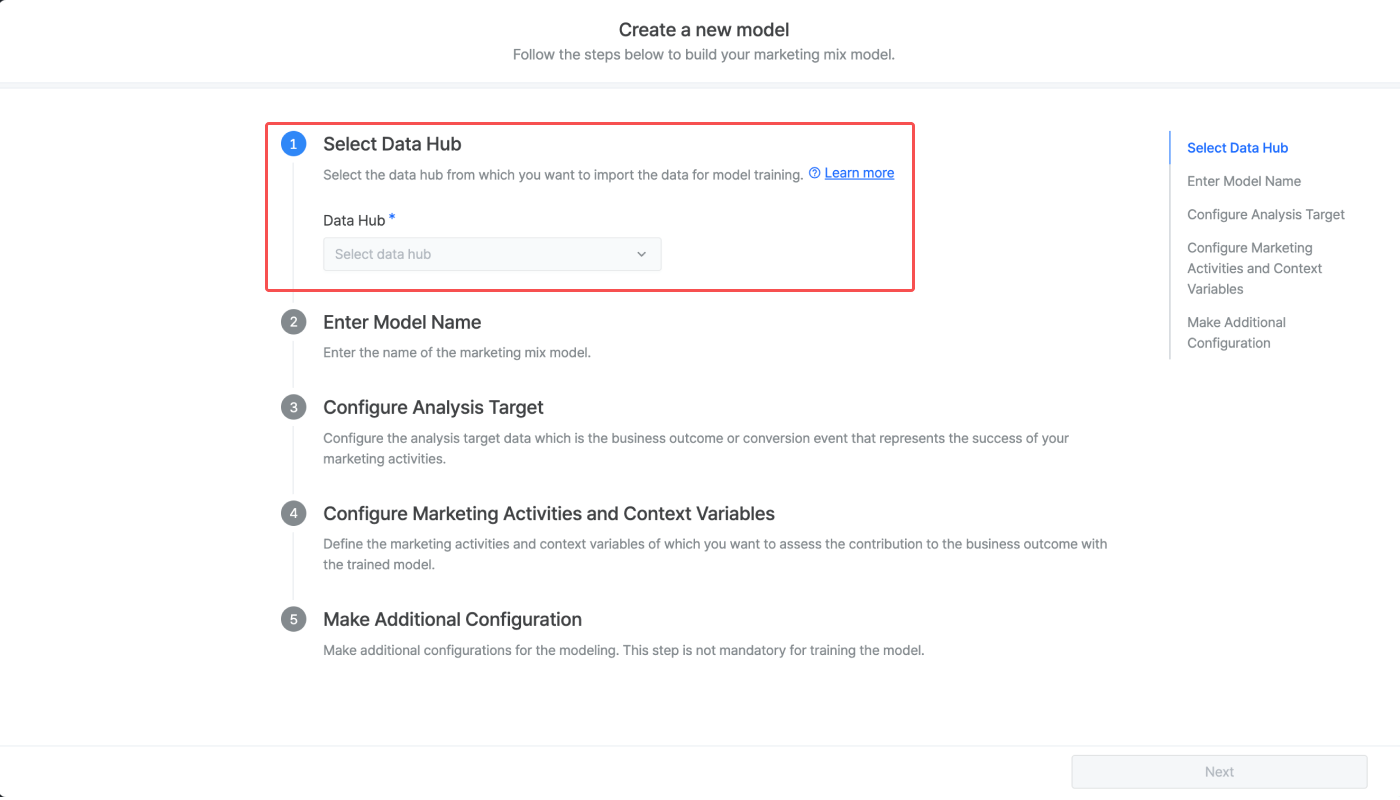
The analysis target data, marketing activity data, and context variable data must be already stored in the data hub to proceed. Refer to this article to learn how to prepare and store your data in the data hub.
The following data sets must be prepared to perform marketing mix modeling.
Data Set | Description |
|---|---|
Analysis Target | The business outcome or the conversion that represents the success of your marketing activities. It can be anything from installs and subscriptions to revenue, etc. |
Marketing Activity | The data of your marketing activities. Either impression, click, or cost data can be used. |
Context Variables | The external variables that affect the analysis target other than your marketing activities. It can be anything from app ranking in app stores to the number of views on social media, etc. |
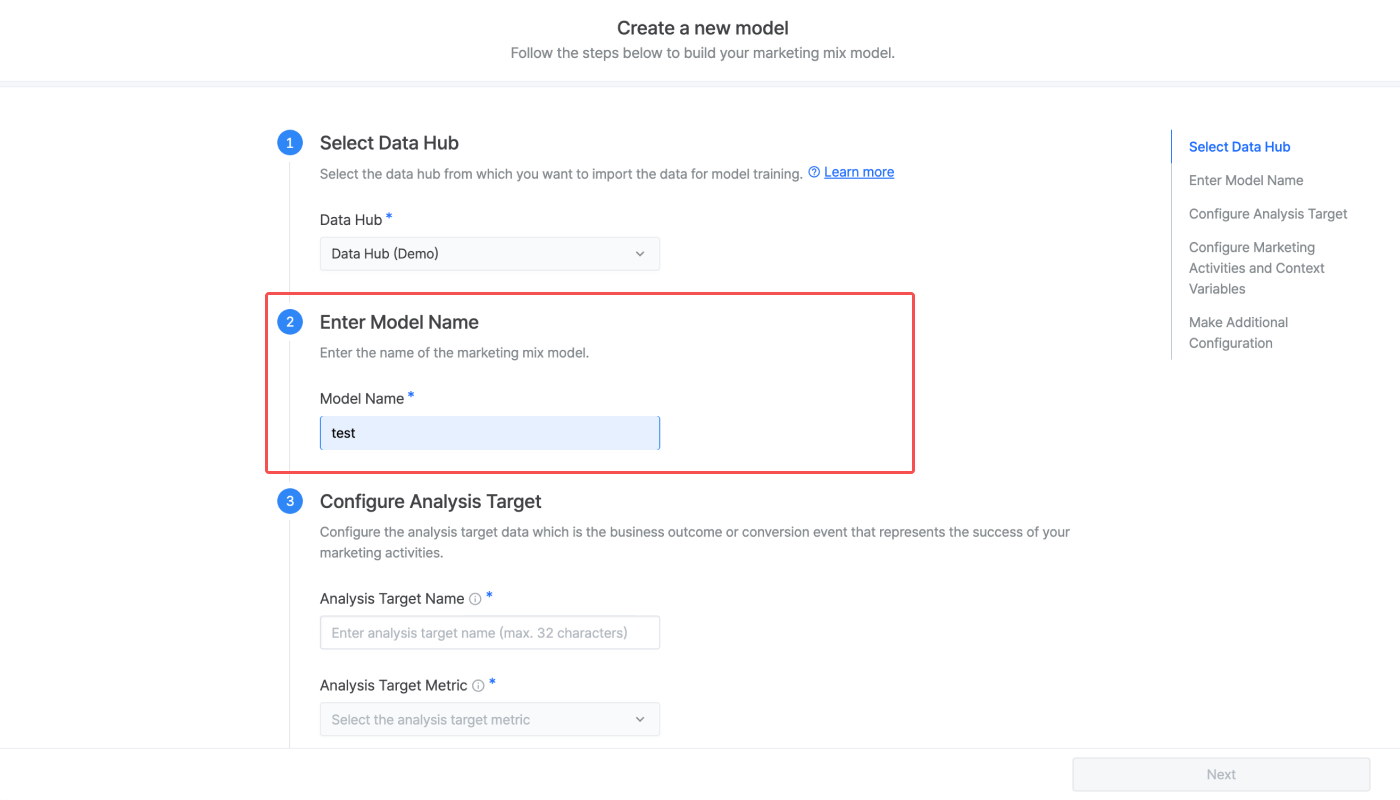
3. Enter the model name. The model name has to be unique.
4. Enter the analysis target name. The name must be less than 32 characters. Then, select the analysis target metric from the metrics saved in your selected data hub. Click Add a filter to specify the metric. Multiple filters and filter values can be added.
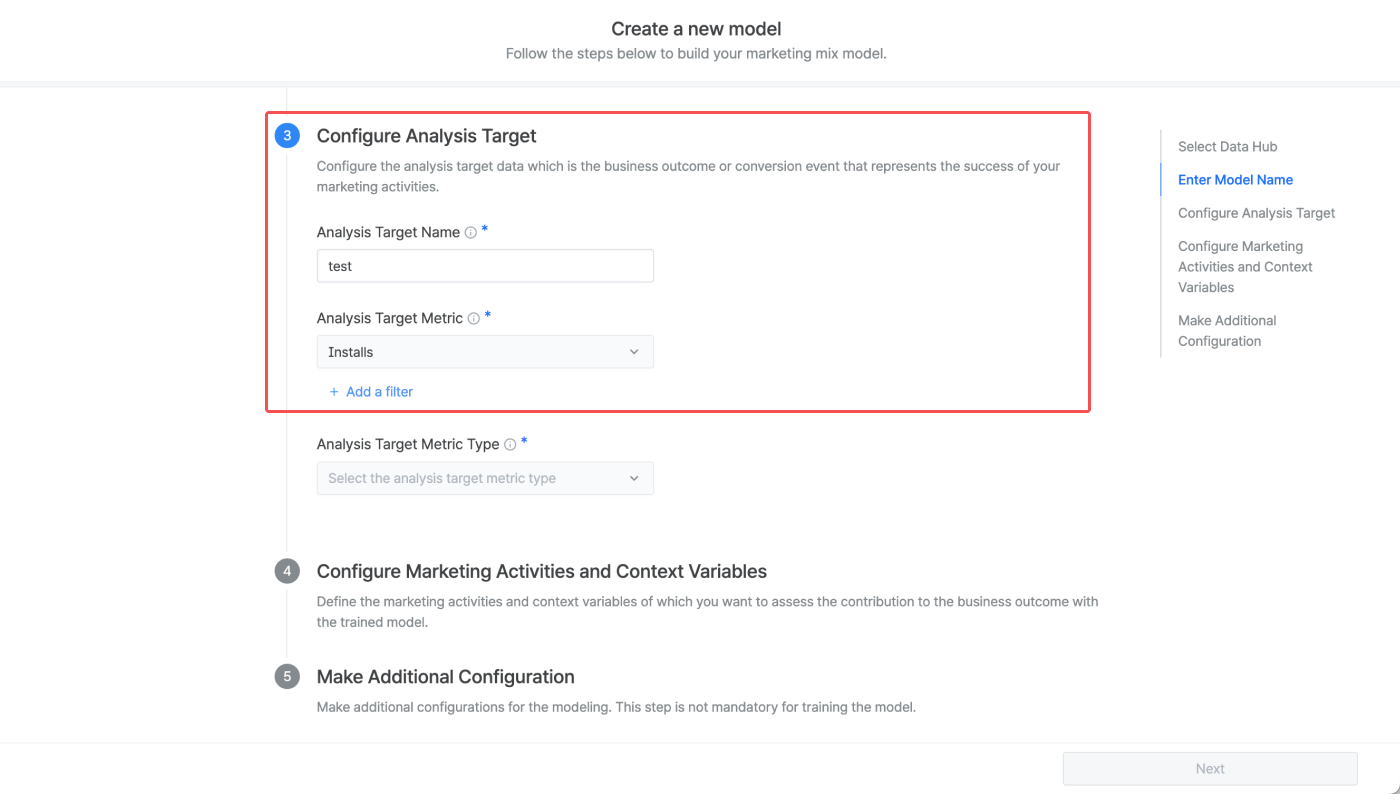
Refer to the use cases below to understand how to use filters when configuring the analysis target metric.
To configure the analysis target as the in-app purchase amount of your iOS app generated in the US, follow the steps below:
1. Select Revenue as the analysis target metric.
2. Add a filter, select Platform, and select iOS as the platform.
3. Add another filter, select Country, and select US as the country code.
To configure the analysis target as the app install generated through user acquisition campaigns, follow the steps below:
1. Select Installs as the analysis target metric.
2. Add a filter, select Custom 1, and select UA.
5. Select the analysis target metric type. The model's training approach depends on the chosen metric type.
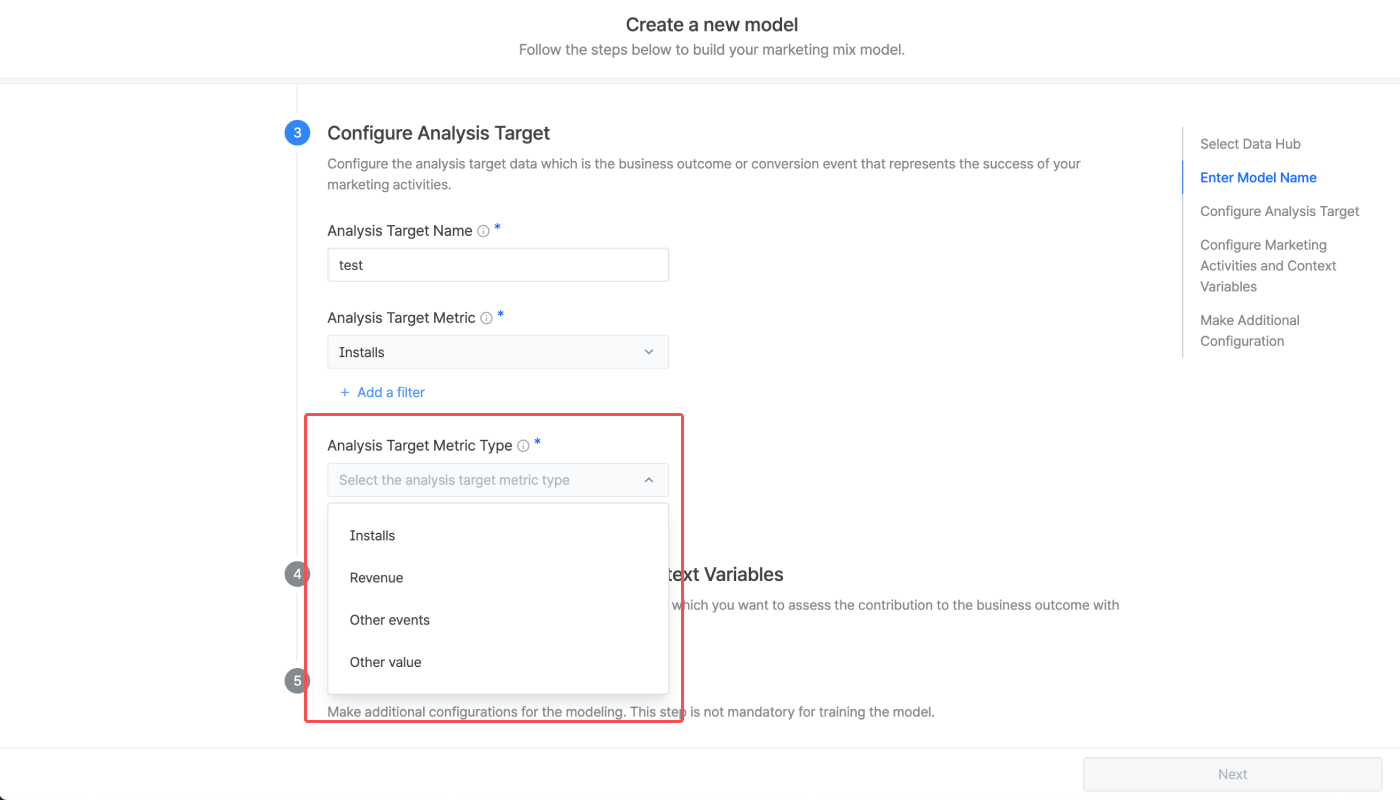
Below are the analysis target metric types supported by the MMM Studio.
The model's training approach depends on the chosen metric type. Select the metric type that best suits your analysis needs.
Analysis target metric type | Description |
|---|---|
Installs | Number of installs attributed to marketing activity |
Revenue | Revenue attributed to marketing activity |
Other events | Number of events other than app installs |
Other value | Event values other than revenue |
6. Click Add a marketing activity. At least 3 marketing activities must be added.
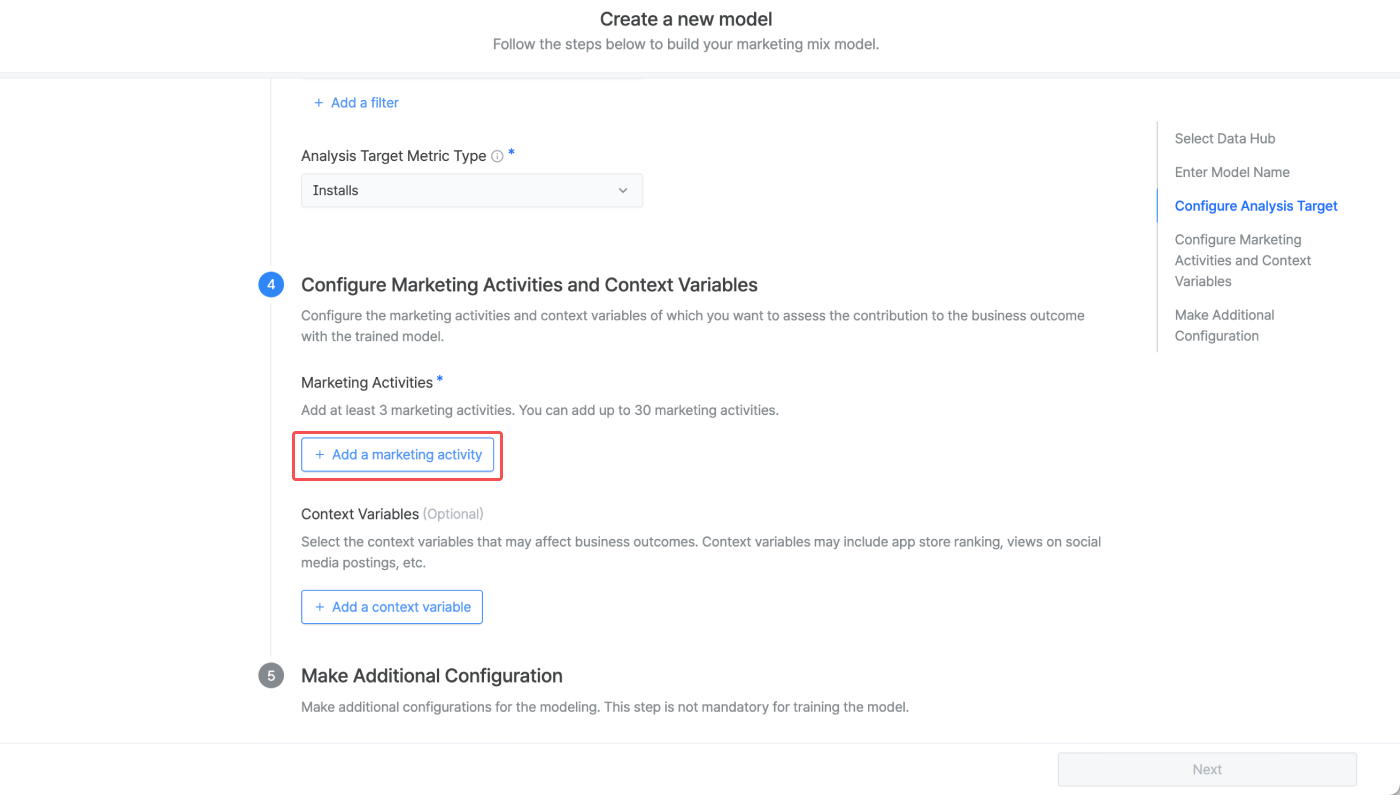
7. Enter the marketing activity name. The name must be less than 32 characters. Then, Select the marketing activity metric from the metrics saved in your selected data hub. Click Add a filter to specify the metric. Multiple filters and filter values can be added.
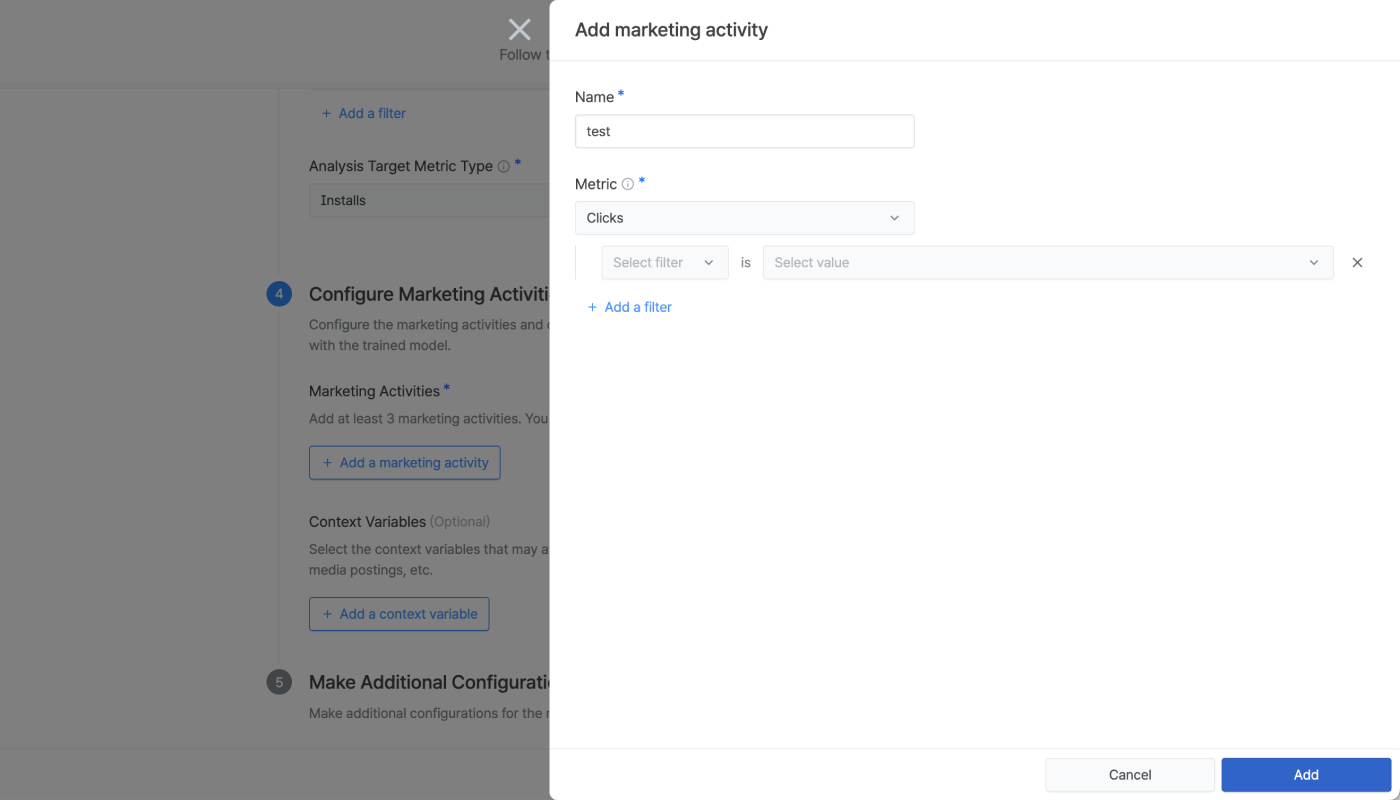
In the [Performance Tracker] and the [Budget Optimizer], you can select the marketing activities you added for model configuration as GroupBys.
Once a marketing activity is added, you can see the settings by clicking the [arrow] icon on the left of the marketing activity name. You can see details, make edits, or delete the marketing activities by clicking the respective buttons.

8. Configuring the context variable is optional. The process of configuring the context variable is the same as configuring the marketing activities.

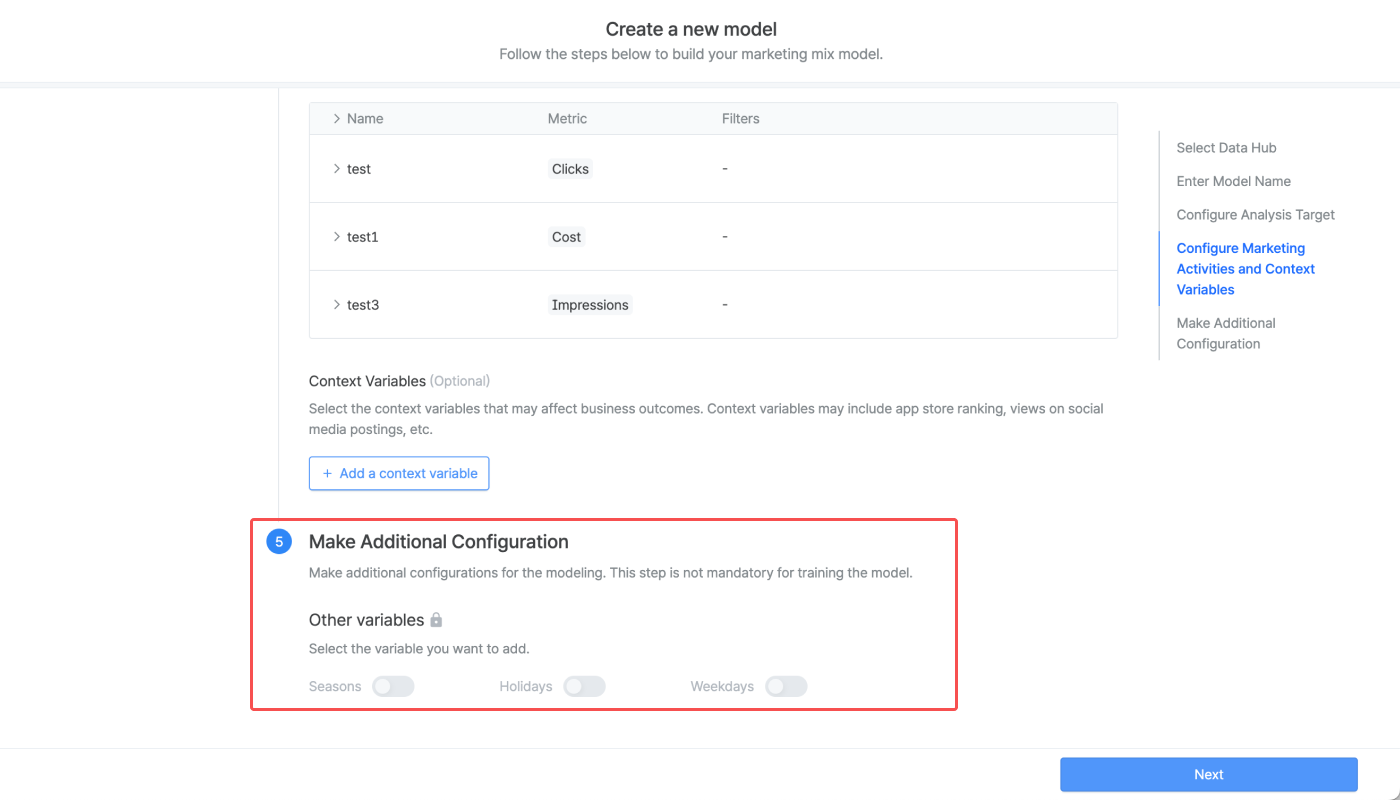
9. To increase the accuracy of the model, you can make additional configurations where you can add other variables such as seasonality. This configuration is optional and will be made available soon.
Once you are done with the configurations, click Next.
10. On the Model Summary page, you can review the configurations made for your model. Click Start training if everything is in order. A notification box that appears at the bottom will let you know the estimated time it will take to train the model. If the Training Status of the model won't change to Success even after the estimated time has passed, click the [refresh] icon on the upper right.


Models that completed training can be used for different purposes. The following table shows the options you can select from the [Action] feature.
Action | Description |
|---|---|
Performance Tracker | You can move to the [Performance Tracker] page and view the marketing performance analysis results using the model. |
Budget Optimizer | You can move to the [Budget Optimizer] page and view the budget allocation plan recommended by the model. |
Simulator | You can move to the [Simulator] page and view the minimum budget recommended by the model to reach the set marketing goal. |
View details | You can view the detailed information on the model. |
The Training Status column shows the status of your model. The marketing mix model can't be used for creating reports until the training is complete.
Status | Description |
|---|---|
Success | The marketing mix model has been successfully trained. |
Waiting | The marketing mix model is waiting to be trained. The marketing mix model can't be used for creating reports until the training is complete. |
In progress | The marketing mix model is under training. The marketing mix model can't be used for creating reports until the training is complete. |
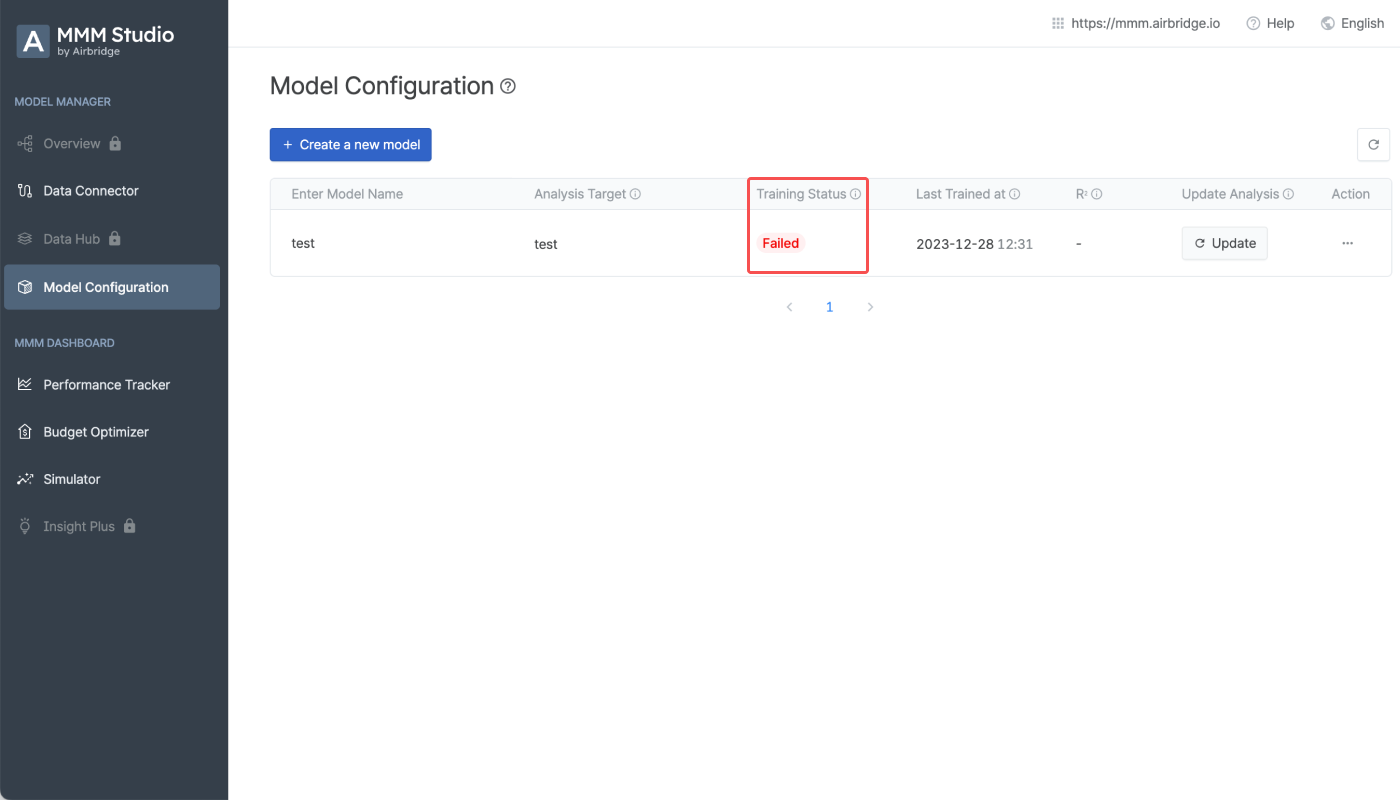
Failed | The marketing mix model training has failed. Create a new model or use a new connection in the data hub to add data to update an existing model. |
Refresh the page if the training status won't change after the expected training completion time. If the status is not updated or the training status shows "Failed," contact the MMM Studio team (dl_mmm@ab180.co).
If you want to update the model with the most recent training results, click Update in the Update Analysis column.
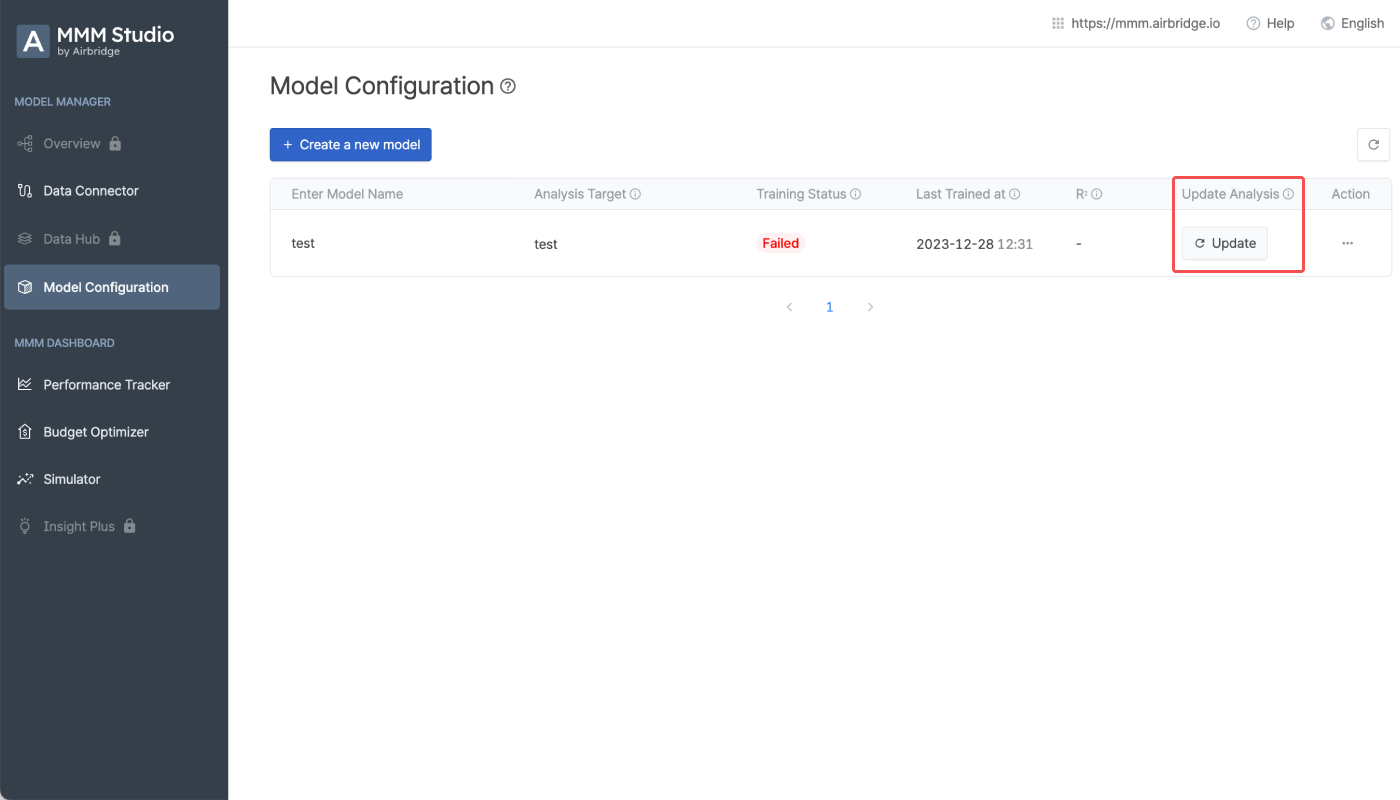
Configure the date range of the additional data you want to use to train your model.
Auto-configuration: The date range is automatically configured for training, which is from the last date of existing analysis results to the most recent date of the added data
Manual configuration: You can specify the date range for the training.
When you have configured the date range, click Update to start the training.

このページは役に立ちましたか?